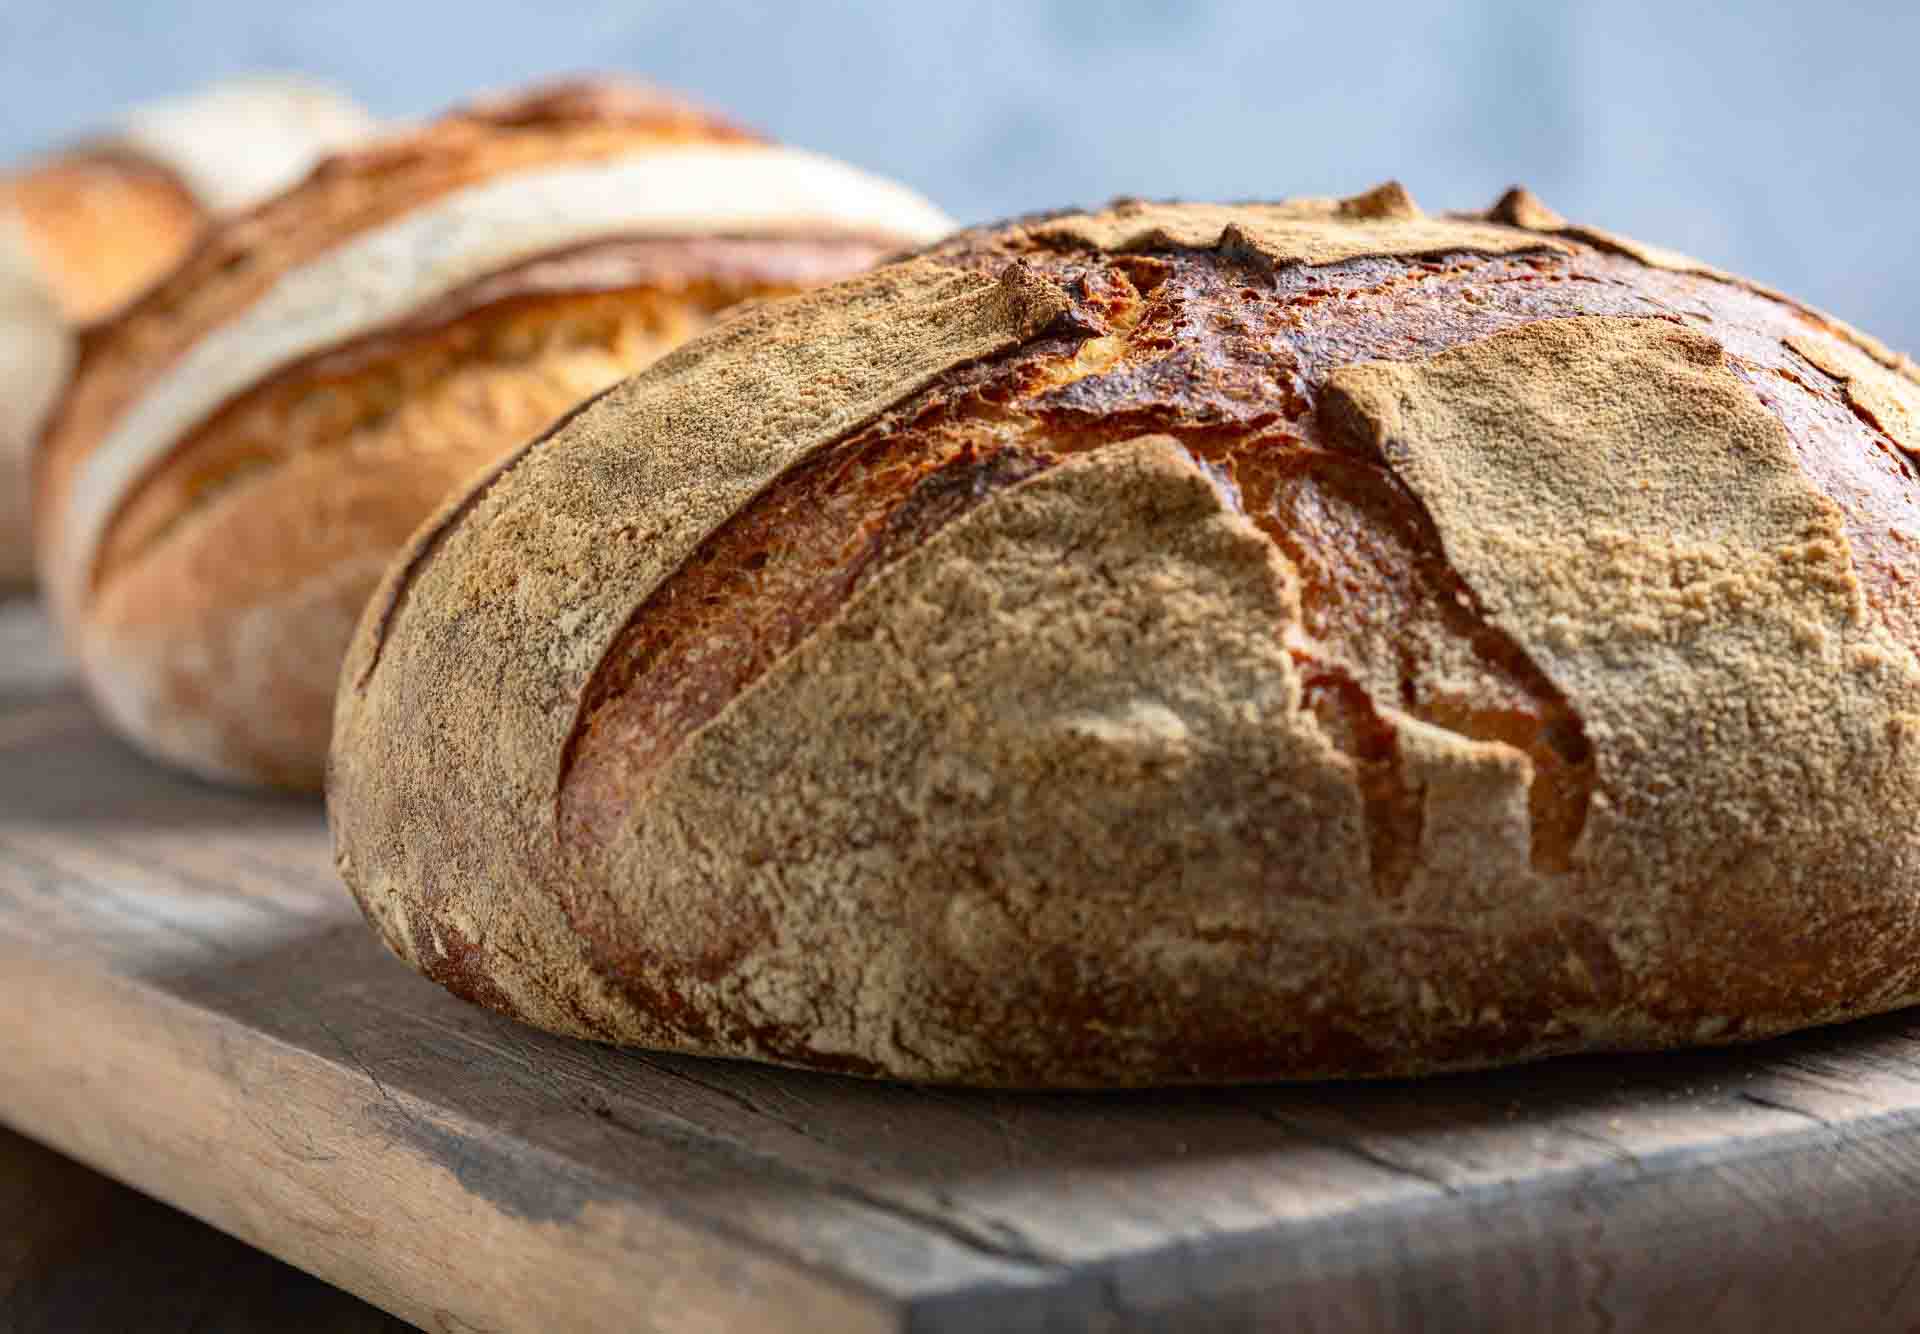
From a Casual Baker to a Sourdough Pro
Dive into my intimate journey of creating a homemade sourdough loaf right from my kitchen. From my early trials with diverse recipes to now crafting consistently top-tier loaves, this experience has been truly transformative.
For a long time, baking bread had been a mere occasional activity. But considering our family’s fondness for morning avocado toast or pre-dinner slices paired with cheese and olives, venturing into sourdough was a natural progression.
A Year of Baking Revelations
Locked indoors for a year, I undertook countless experiments. Yes, there were failures, but each one was a lesson. Slowly, the loaves began to resemble what I had envisioned – consistent, flavorful, and utterly delightful sourdough. So much so, bakery visits have become rare! Being the family’s unofficial engineer, I’ve crunched the numbers and tested shortcuts. What you see here is a year’s worth of passionate baking distilled into this recipe.
To fully capture the essence of this bread, you’ll want to start early in the day. The first day’s procedure, although largely passive, spans around 10-12 hours.
More than Just Baking
Bread-making transcends mere instruction-following. It’s an art that demands time, devotion, and a touch of love. Unlike the trending no-knead recipes, this one might require an extra ounce of effort. But believe me, the results are worth every second. With the flexibility of remote work, baking sourdough can seamlessly fit into your routine, making it an ideal at-home hobby.
A Win for Gluten Sensitivity?
Here’s something intriguing: those with a mild gluten intolerance might find sourdough less troubling. The lengthy fermentation allows the yeast and bacteria to breakdown gluten proteins, rendering the bread easier to digest. However, always consult a physician before introducing it to someone with gluten sensitivity. Intriguingly, a family member with this intolerance enjoys our sourdough with zero issues.
Ingredients:
- 375 g unbleached bread flour (Use the spoon and level method if measuring in cups)
- 125 g whole wheat flour (Again, use the spoon and level method)
- 120 g sourdough starter (100% hydration, roughly 1 cup when aerated)
- 375 g water
- 13 g fine sea salt
- 1 tablespoon toasted sesame seeds (This is optional, or mix with oats, flax seeds, and sunflower seeds for variation)
Crafting Your Loaf:
1. Prepping Your Starter: 8:00 AM
Revive your starter by mixing it with lukewarm water and flour.
If refrigerated for a week, warm and activate the starter overnight. This step enhances the bread’s rise, shaving off precious morning hours.
Once doubled in size, indicating peak strength, proceed. If there’s a hooch layer, pour it off for a less bitter flavor.
2. Autolyse Process: 8:10 AM
- Accurately measure out flours using a digital scale. Mix with water till every grain is moist. Rest the mix until the starter peaks, which could be up to 4 hours.
3. Integrating the Starter: 12:00 PM
- Blend in 120g of the activated starter to your dough. The remaining starter can be refreshed and stored for future bakes. After combining, let the dough rest briefly.
4. Salt Addition & Initial Folds: 12:30 PM
- Introduce salt through gradual folding. The lift and stretch technique helps in distributing the salt and building gluten strength.
5. Repeated Lifts & Folds: 1:30 PM
- Over the next hours, continue the stretch and fold rhythm. With each set, the dough gains strength and airiness.
6. Shaping & Proofing Basket Transfer: 4:45 PM
- On a floured surface, gently shape the dough, preserving its internal air bubbles. Place it in a floured proofing basket, seam side up.
7. Final Room Temperature Proof: 5:00 PM
- Allow the dough to rest until it’s just right, as indicated by the finger poke test.
8. Overnight Cold Fermentation: 6:30 PM
- Refrigerate the dough for an extended fermentation, enhancing its flavors and textures.
9. Baking Day: 8:00 AM
- Preheat an oven with a Dutch oven inside. This method ensures a steamy environment, perfect for the sourdough’s rise and crust formation.
Embarking on this sourdough journey has its moments of pure joy and fleeting frustrations. But with each bake, you’re one step closer to perfection. Happy baking!
